|
|
|
| [ OVERBURN 1.6 ] |
|
OverBurn is a combination of particles, fluids and particleSamplerInfo nodes. It substitutes the default particleCloud shader with fluid one ( voxels ). As result, the final look of the particles is mutch better and believeble. Using this technique we can represent wider range of interesting volumetric effects like explosions, fireballs, dust, smoke, lava, ice, etc.
The basic idea behind OverBurn is to have automated and flexible system, usefull in different situations. It is always better to have a basic stuff to start from, than to rebuild everything every time from scratch.
The way it works is very simple - particles are used to create dynamic simulation, fluids are coloring these particles, particleSamplerInfo nodes are transfering all the needed PP attributes between particles and fluids ( this allows total control over the volumetric data for every single particle - color, incandescence, opactiy, texture scale, etc). All the particleShapes have additional PP attributes
to which are attached ramps through arrayMappers or expressions.
In most cases the only thing has to be done is to be adjusted the ramps, conected to the PP attributes mentioned above. Also, dont forget the Extra Attributes panel of the particleShape, it contains remaping attributes for the output PP values. Their functionality is to change the min/max output values ( usualy between 0 - 1 ) to whatever is needed. |
|
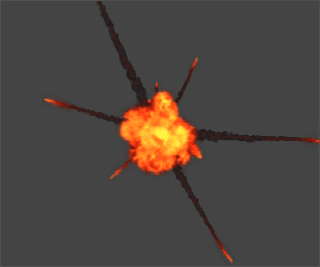
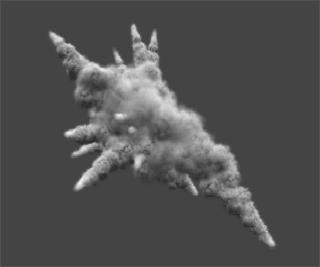
| Take a look at the next very basic examples. They will help you to understand for what we are talking about. |
 |
 |
|
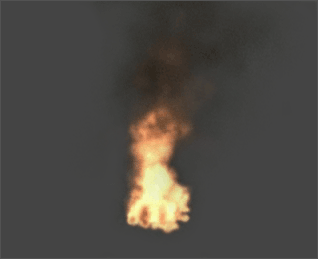 |
Fire: start with tweaking the dynamic simulation to match your needs. A good idea is to set low grid resolution of the fluidContainer for fast OpenGL deedback - 25 25 25 should be fine.
Once you are happy with the dynamic part, set the grid resolution back to 50 50 50 or more, and continue with tweaking the shading / rendering aspects. |
|
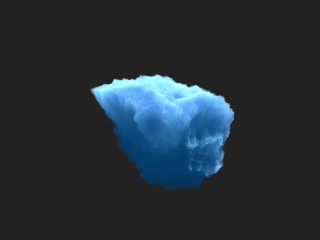 |
Ice: In most cases you will need to use real lights to make the ice chunks look realistic.
About the ice example scene - dont forget to adjust particle's solver oversampling and scene playback speed to eliminate the particle bouncing effect caused by the combination of gravityField. |
|
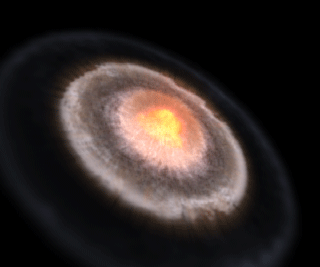 |
The brown shockwave should be rendered on separate pass for color correction of the surface under the explosion. The rest is on single layer.
If you plan to use it for something, turn off the nasty glow, i used it only to save time for comping.
Also, dont use MR to render this thing - by some reason the results are not looking good ( i will investigate this later ).
Here is the scene: impact.zip |
|
I received couple of emails from people asking me why OverBurn's presets are so overcomplicated: ramps and arrayMappers controled by floatAttributes control PP attributes which control the fluid stuff.
The simple answer is that the noise function always returns identical "random" values and the only thing you have to do is to multiply/divide these values to get the needed "random" result.
The rand() function every time returns different values - at some point this is out of control - especially for precise work.
Maya 6.0 introduced streams, but for me is a mutch more handy to use ramps with cranked-up noise values.
One guy asked me how to render motion blurred particles colored with fluid shapes. As response i published HERE a short tutorial how this can be done ( you know that MayaToMentalRayTranslator still does not fully support particleSamplerInfo nodes and in this way fluid colored particles, why that we are goign to stick with Maya Software Renderer ). |
|
| [ VOXEL EDITOR ] |
| |
 |
|
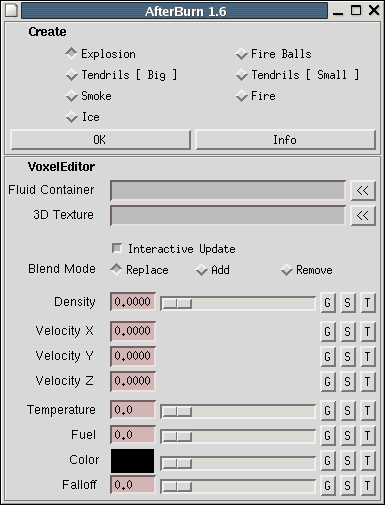
With VoxelEditor we can select voxel cells directly in the viewport and immediatelly edit their properties. The workflow is similar to the well known Edit Membership Tool, but instead with points, it works with fluid voxels.
UI is really simple and consists of the next elements:
Fluid Container: this field contains the name of the fluidContainer which will be edited.
Intaractive Update: enables / disables the immediate feedback, caused by scrubbing of the sliders located below in the UI.
Blend Mode: defines the way how the voxel data will be changed.
Density, Velocity, Temperature, Fuel, Color, Falloff - elements representing tall the voxel's data types.
On the right side of the sliders are placed buttons Get and Set and SetUsing3DTexture.
The Get buttons read data from the voxel, represented by the first selected voxelHandle and update the values of the respective UI elements.
The Set buttons edit the properties of those voxel, which voxelHandles are selected.
|
|
| |
| I personally found VoxelEditor very usefull to clean-up volumetric shapes after the main set-up is done - getting rid of unnecessery details, or adding such, tweaking areas which can't be easily accessed through the default artisanPaintFluidsTool ( for example - voxels located in-between volumetric shapes formed by the fractal texturing of the fluid, etc ). |
| |
Please notice that we can edit only Static/Dynamic Grid methods ...
Dont worry about your existing fluidContainers in Gradient mode, there is a simple workflow allowing us to switch from Gradient to Static/Dynamic Grid methods without loosing the voxel data ( or at least with minimal losses ).
For example - we have a nice looking fluidContainer which contents were created in Gradient mode, but now we want to change the data of some voxels or to apply dynamics to the whole thing. To do that, we only need to set the densityMethod to Static or Dynamic Grid and then to set the density value for all the voxels to 1 or another value, matching the original look of the fluid.
Additional, but not neccessary step is to turn the opacityInput attributes inside the "Shading" UI panel to some of the dynamic methods and coordinateMethod inside the "Textures" UI panel to Grid. This will help the fluid texture react properly on the applied dynamic forces.
In fact i almost stopped using fluids in gradient mode. |
| |
Let's start with an empty fluidContainer.
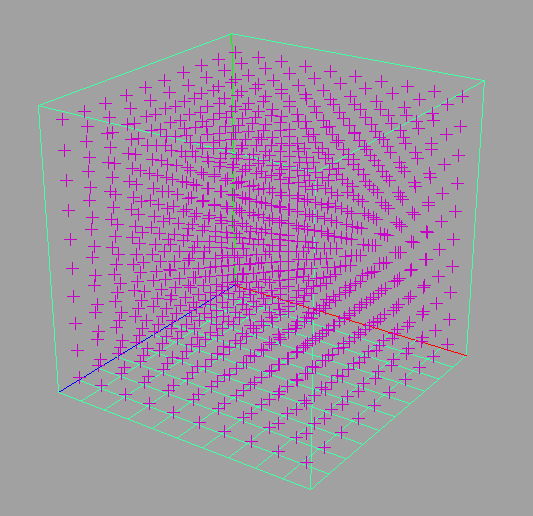
Select the actual fluidShape or the transform node above it, then press the "<<" button, placed at the right side of the Fluid Container field inside the VoxelEditor's UI. This action should create bunch of transforms called VoxelHandles, every one of them represents a cell from the fluidContainer. |
 |
| |
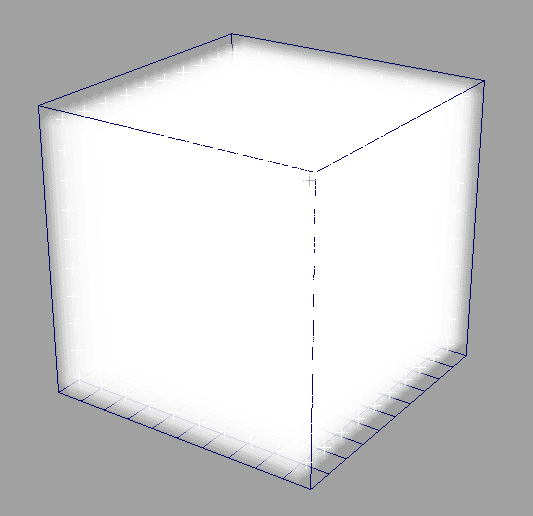
| Select all these VoxelHandles and set the Density attribute to 1. |
 |
| |
| Now, let's change the color of the voxels which VoxelHandles are selected - to do this, click over the color box inside the VoxelEditor's UI and select, to say, a red color. |
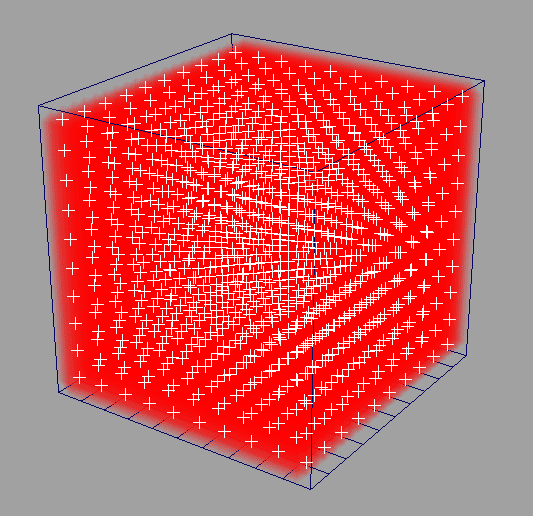 |
| |
| You can experiment a bit with selecting different VoxelHandles and changing their properties - just too feel how easy the live can be :) |
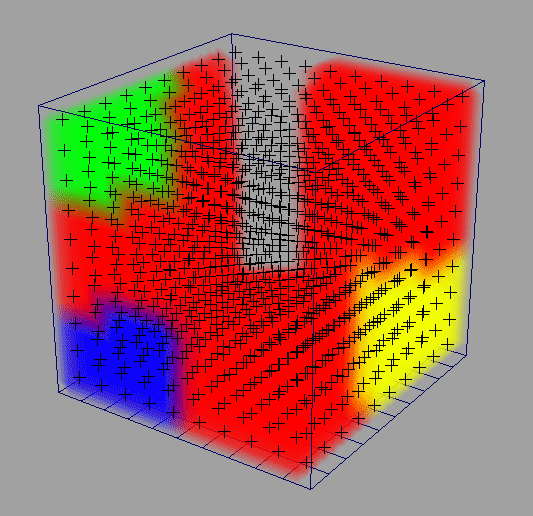 |
| |
| Select the fluidContainer, open the Attribute Editor and turn-on the textureOpacity flag. Everything looks nice, but accidently we want the left side of the fluidContainer to be "empty". |
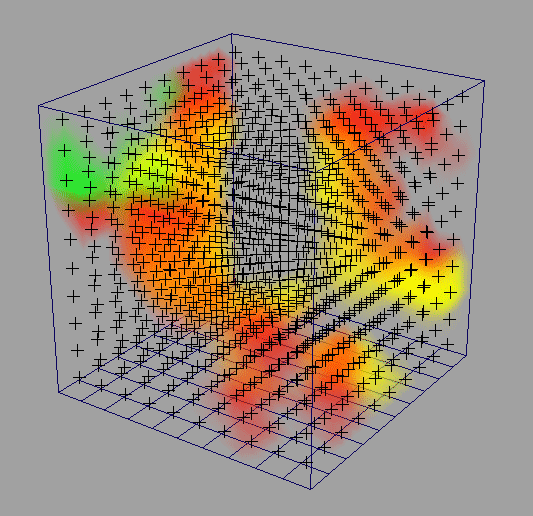 |
| |
| Selecting bunch of VoxelHandles and setting the Density slider inside the VoxelEditor's UI to 0 immediatelly fixes our little problem. |
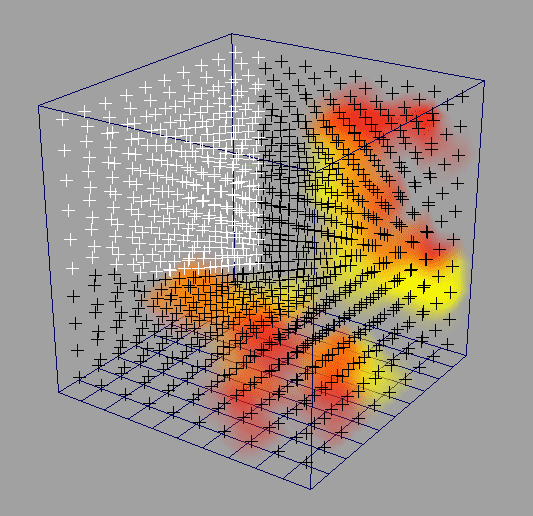 |
| |
| The workflow is exatly the same when dealing with the rest of the voxel properties. For example - select few VoxelHandles on the right side of the fluidContainer and set VelocityX to -3 and VelocityY to 5. |
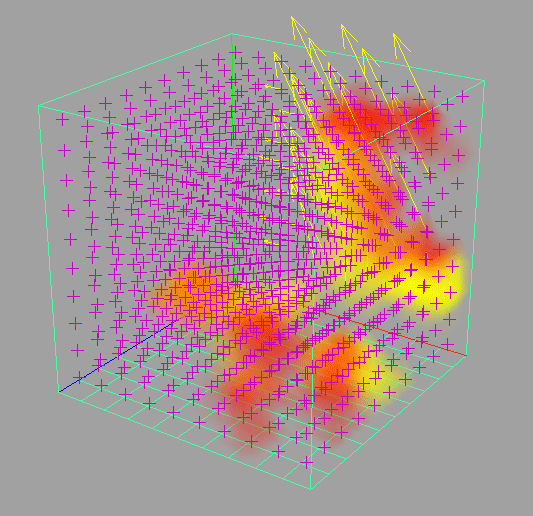 |
| |
| Playing the simulation should produce result like the picture below. Just an example. |
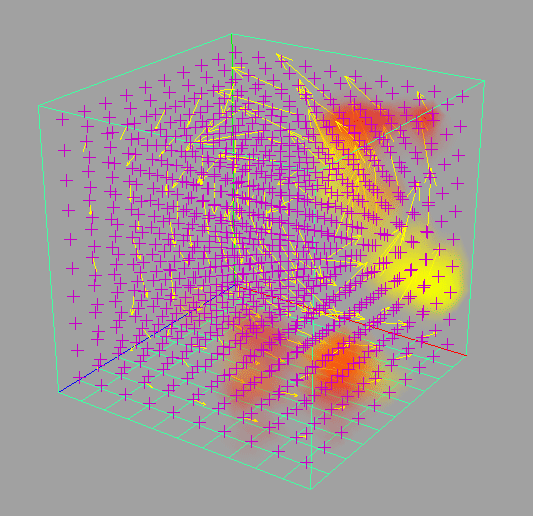 |
|
| |
In a similar manner you can control fluids using 3D Textures.
Create a default fluidContainter, set it's color to dynamic or static grid, then press the "<<" button, located on the right side of the Fluid Container field inside the OverBurn's UI.
Create a Crater 3D Texture and scale it's 3D placer to match the size of the fluidContainer. Select the Crater's shading node and press the "<<" button, on the right side of the 3D Texture field.
Select all the voxel handles and press the "T" buttons on the right side of the Density and Color sliders.
The fluid should match the pattern of the Crater 3D texture.
Two impotant notes:
The
VoxelEditor is usefull mainly after you cache the fluids or to create specific startup conditions.
For the first case the workflow is this: cache the fluids, edit voxel cells properties, replace the current cached frame.
For the second case: edit the voxel cells properties, then set initial state of the fluid in the current frame.
|
| |
|
[ DOWNLOAD ]
The new archive contains example scenes optimized for high resolution rendering ( the old ones are still here, because the new ones are not looking good when rendered in low resolution, etc ).
The fluid solver in Maya 7 behaves differently ( in Dynamic Grid ). Fluid containters imported from previous versions in Maya 7 will behave in the same way, but not and the newly created fluids in 7. Seems to me, that the "dump" attribute makes the biggest difference. Lowering it around 5 times matches the look of the "old" fluids to some point. Of course, some additional tweaking will be needed anyways.
The last update from 05/09/2006 should cover all the little UI quirks of Maya for OSX. |
|
|
|
|